
This guide will provide instructions on how to setup your Cisco Webex tenancy to connect to our platform.
The following steps are required for configuring Cisco Webex calling:
Contents
Connecting Trunk to a Route Group
Using Locations
You have 2 options regarding locations, you can create a new location or edit an existing one. Follow the below for creating a new location or edit your currently configured location.
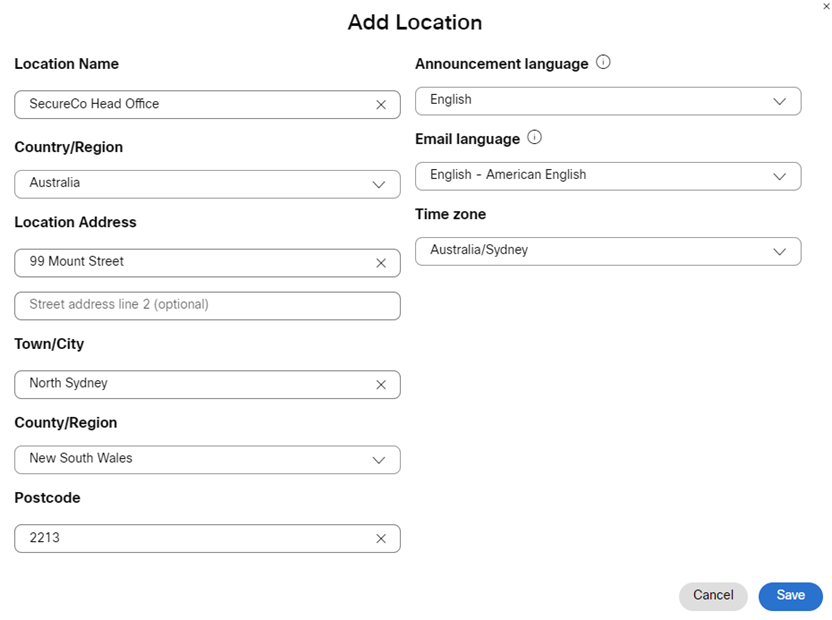
Navigate to https://admin.webex.com, go to Services > Calling > Locations, and click Add Location.
Fill out form as required
Creating a Trunk
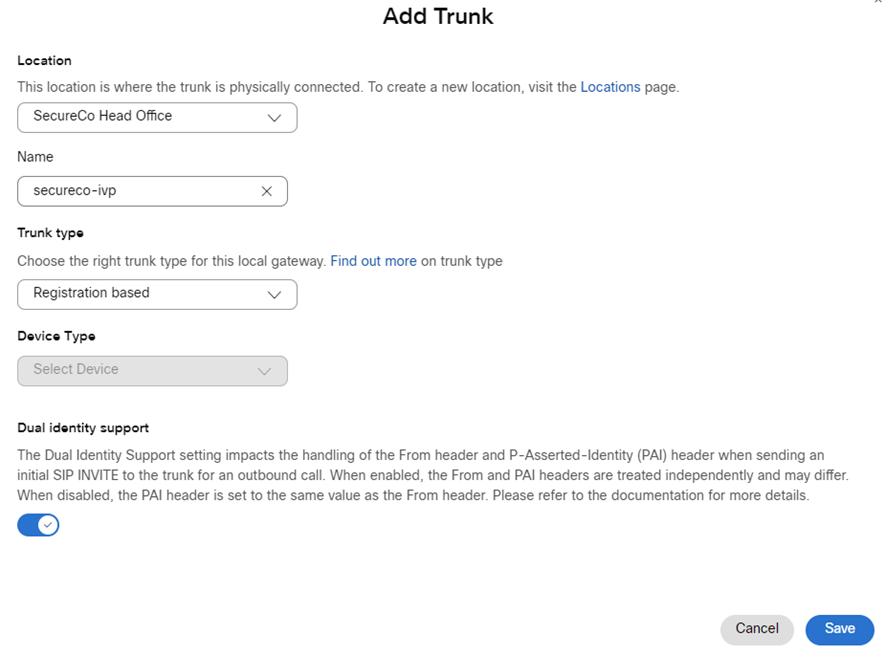
Navigate to https://admin.webex.com, go to Services > Calling > Call Routing, and select Add Trunk.
Fill in form as required, selecting the location created or modified above.
Select a name that is 24 characters or less and conforms to your naming policy.
For the Trunk Type, select registration based
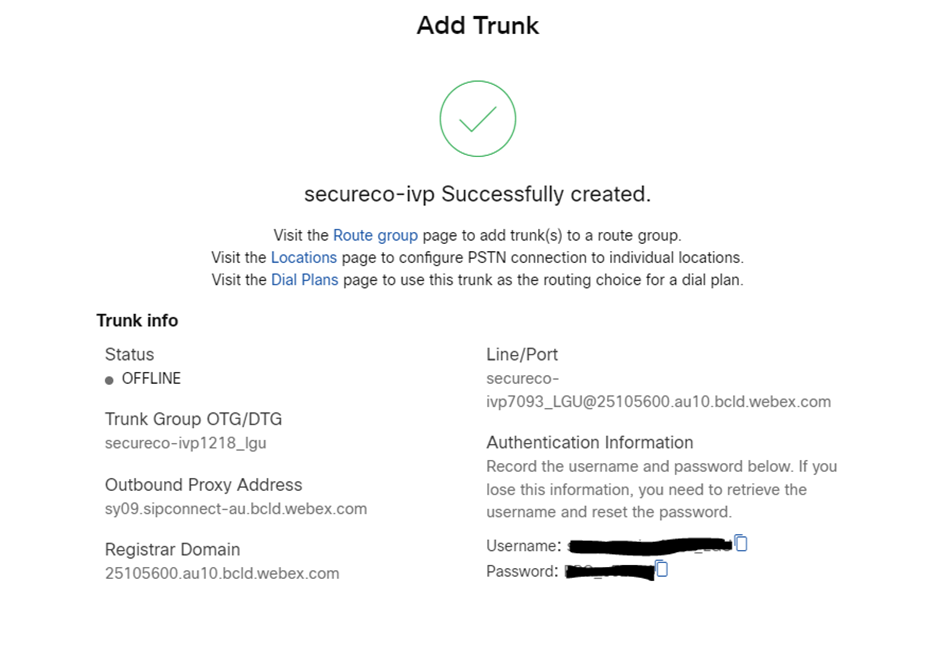
**IMPORTANT**
On the next screen displayed, it is important to copy the username and password as this is the only place it is displayed. Store via your normal security procedures.
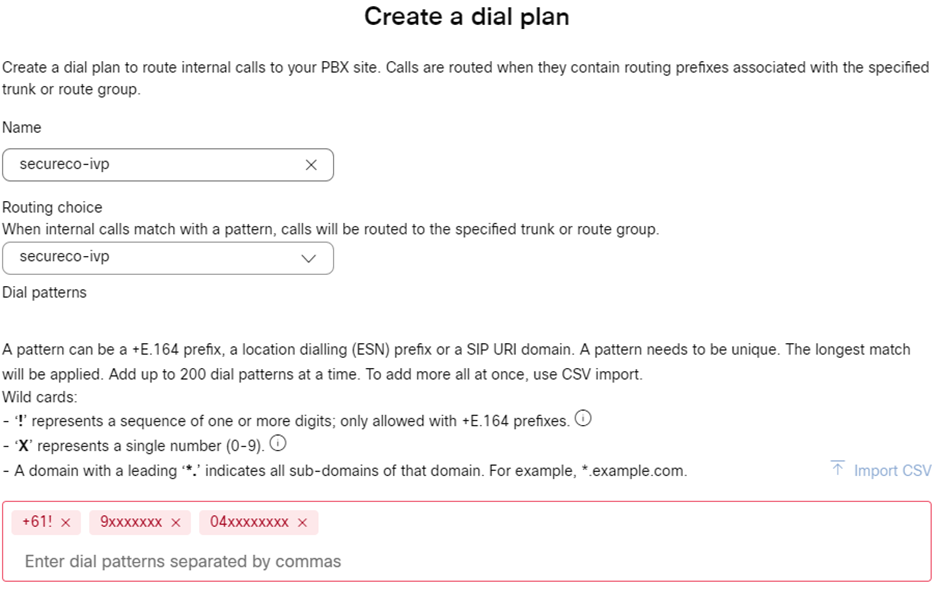
Webex Calling Dial Plans
Navigate to https://admin.webex.com, go to Services > Calling > Dial Plans
Ensure your dial plans are setup for your requirements, if you have none, below is an example for Australian based dialling.
Connecting Trunk to a Route Group
If your tenancy used route groups, navigate to https://admin.webex.com, go to Services > Calling > Call routing > Route group and ensure your route group is configured accordingly.
Route groups are not covered in detail in this guide.
Connecting Trunk to location
Navigate to https://admin.webex.com, go to Services > Calling > Locations, click on the location you created previously.
For a new site click on the manage link to follow the wizard for configuration and fill out as per below:

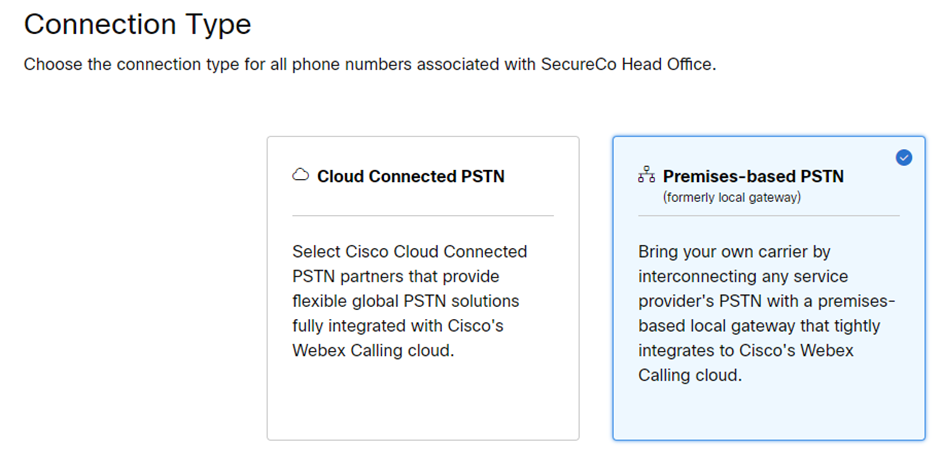
Under connection type, select Premises-based PSTN and click Next
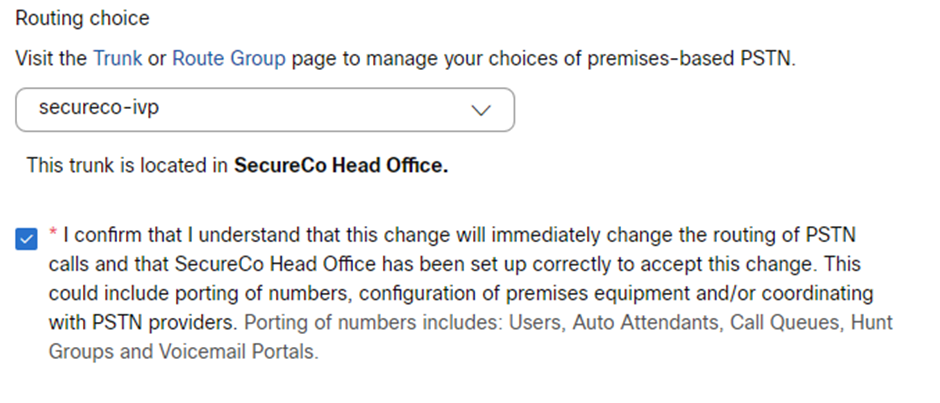
Select the trunk created above for the routing choice, check the I confirm box and click next
You PSTN configuration is now saved, click on Done if you don’t have the numbers that SecureCo provided you or Add numbers now if you do
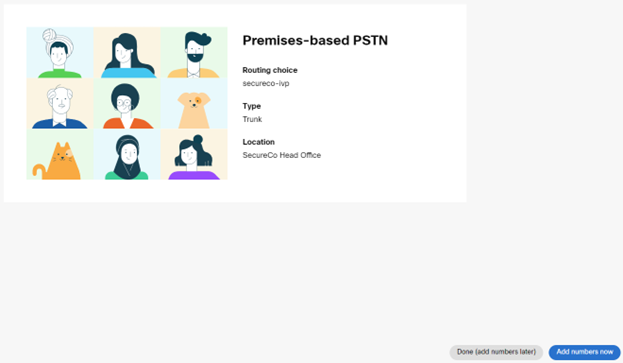
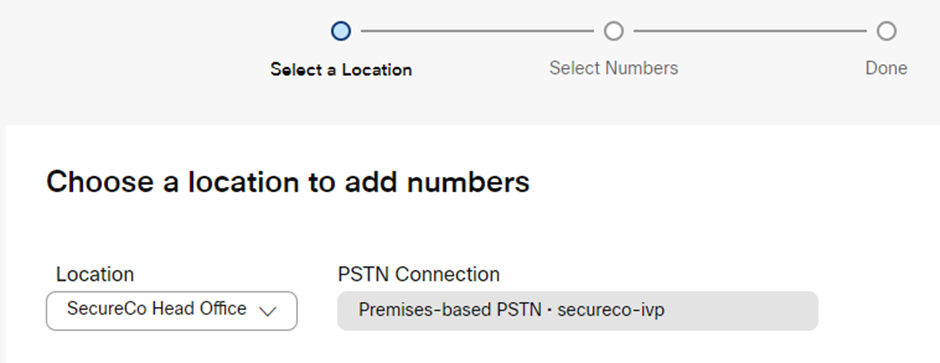
If you click add Numbers now, follow the wizard and fill as required. Location and PSTN connection are pre filled, click on next
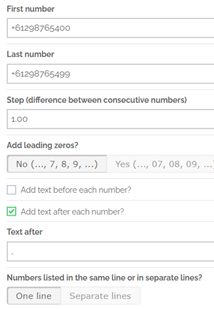
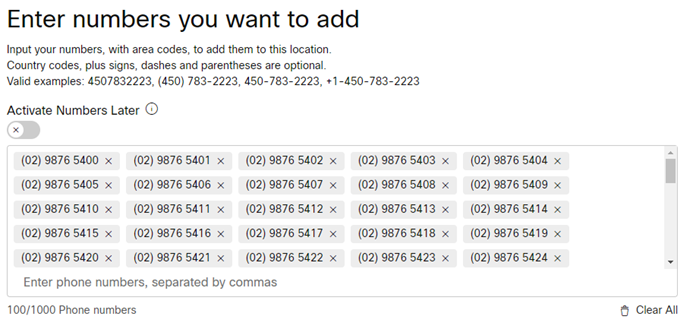
Enter the numbers provided by SecureCo, if you are using a number block, you must paste in all numbers separated by commas. I.e. +61298765400, +61298765401, +612987654xx (this is a limitation of the Webex wizard)
There is an online tool you can use to generate this list: https://pinetools.com/generate-list-numbers that will save you some effort.
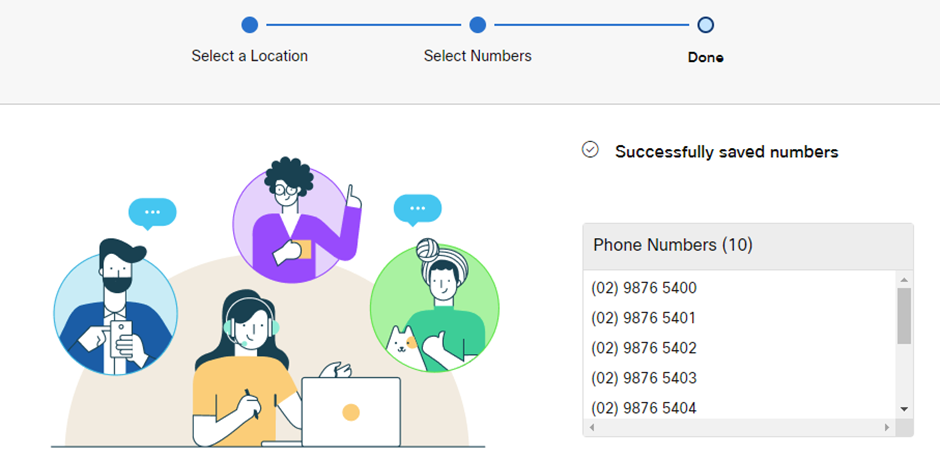
Click on Save, then close
If you created this location rather than editing an existing one, navigate to https://admin.webex.com, go to Services > Calling > Locations, click on the location you created previously.
Click on Main number, then select a number to the main number for the site and click save.
Implementation completion
At the completion of this guide, please notify your SecureCo onboarding representative for them to complete the activation.