
This guide will provide instructions on how to set up your Microsoft Teams tenancy to connect to our platform via Direct Routing
Content
- Adding the domain to Office 365
- Add a user to the new domain
- Set Teams upgrade settings
- Create a PSTN Usage Record
- Add SBC to Teams
- Create a Voice Routing Policy
- Create a Voice Route
- Setup the Voice Routing Policy
- Assigning the Voice Routing Policy
- Assign Phone Numbers to Users
Adding the domain to Office 365
SecureCo will provide an FQDN for you to add to your tenancy. This FQDN will be used for the SBC setting further in this guide.
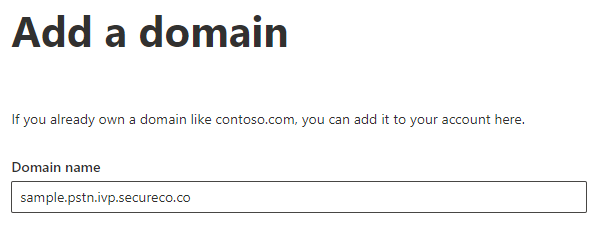
Firstly, navigate to Office 365 admin portal https://admin.microsoft.com/ then to settings, domains. Click on add domain and fill in field with the FQDN provided
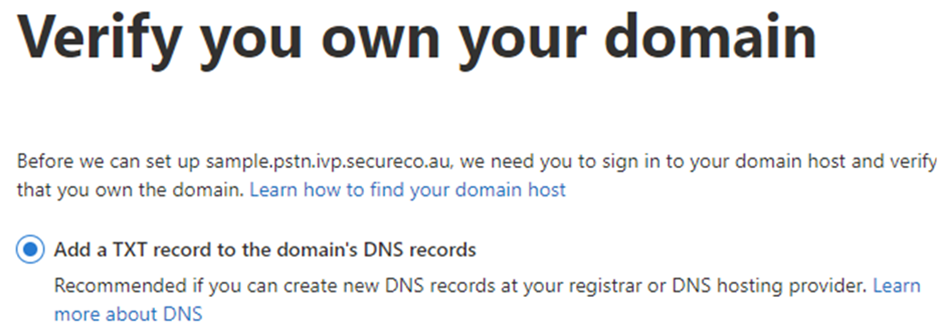
The next stage is to verify the domain. This is a process that needs to be completed by both you the customer and the SecureCo implementation team. It involves you selecting the DNS record method and providing the TXT key to SecureCo for them to add to the DNS records for your specific FQDN.
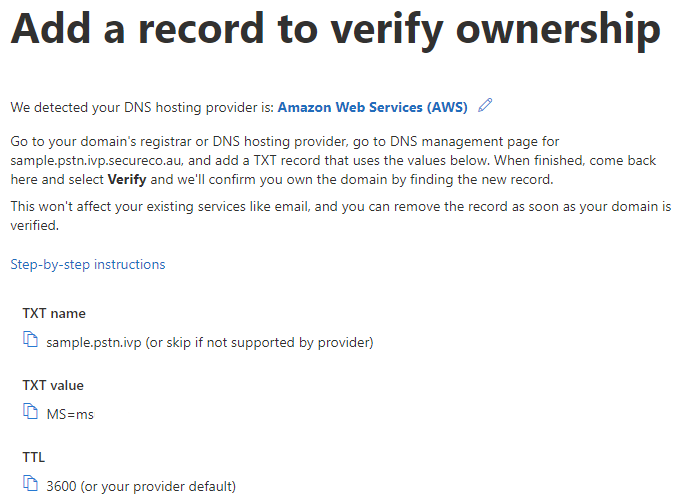
The next screen will show the key
You will be notified by the SecureCo implementation team when this has been completed for you to verify the domain

DNS propagation may take some time, up to 15 minutes in some cases, if you see any errors, such as below, try again in 10 minutes.

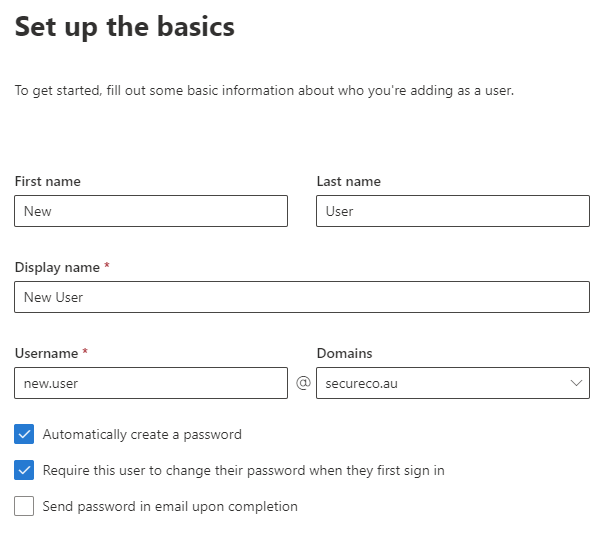
Add a user to the new domain
To enable the FQDN to be used and activated for Direct Routing, a user must be added to the domain. This can be a test user and can be removed once the setup has been successfully tested.
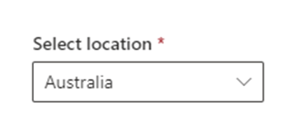
Select the location for your user:
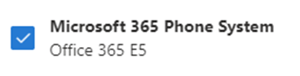
Add the relevant license for your user. Minimum requirements is for your user to have a Microsoft 365 Phone System license, or E5 which has Phone System added automatically.
Set Teams upgrade settings
Navigate to https://admin.teams.microsoft.com/ then click Teams > Teams upgrade settings and set to below

Create a PSTN Usage Record
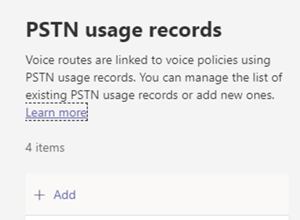
PSTN Usage records are used to link Voice Routes and Voice Routing Policies. These policies are then assigned to users.
Navigate to Voice > Direct Routing, select ‘Manage PSTN usage records’. Click +Add to add a new usage record. Name it according to your needs and click apply.
Add SBC to Teams
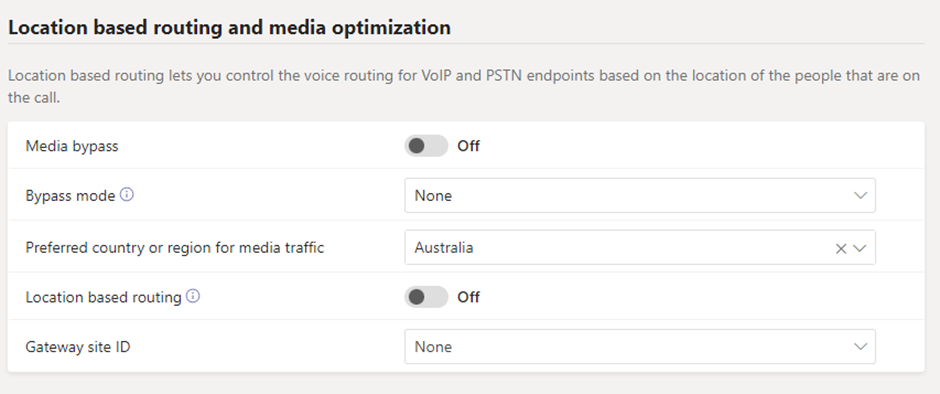
Navigate to Voice > Direct Routing and click on Add on the SBC tab. Enter the FQDN setup in the domain section above and fill the form as per below:
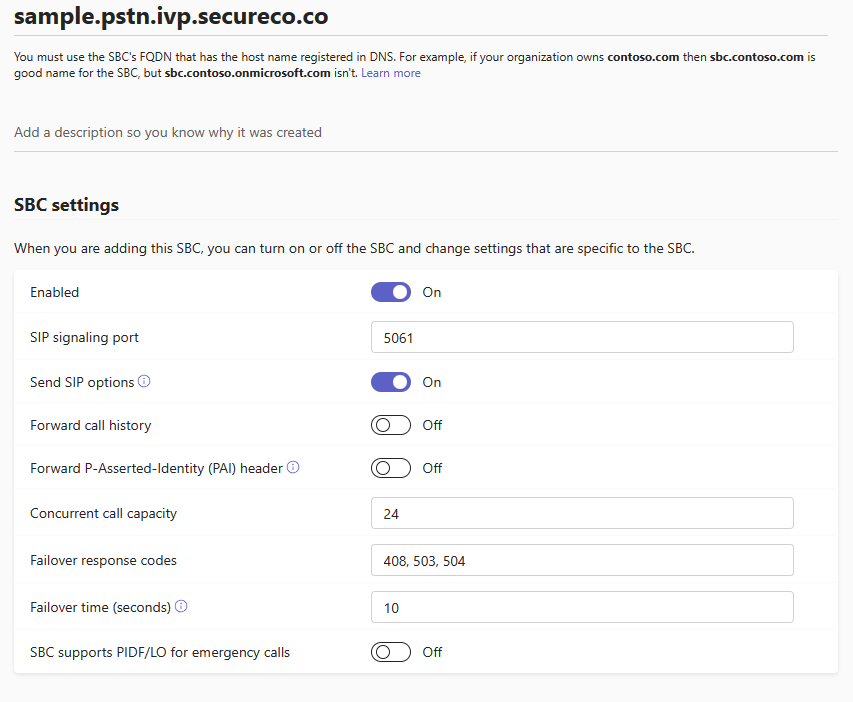
Modify the location-based settings based on the users' location:
Create a Voice Routing Policy
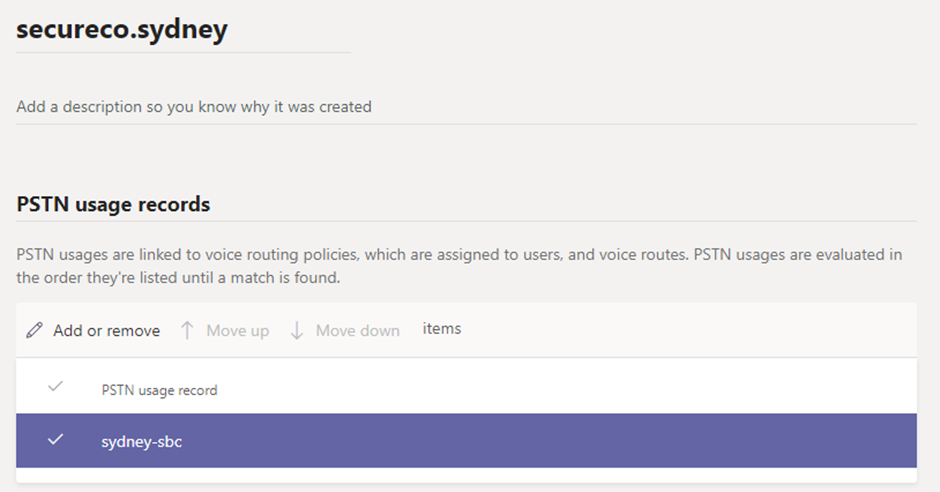
Navigate to Voice > Voice Routing Policies and click +Add. Name the policy in accordance with your naming policy and add the PSTN usage record created above
Create a Voice Route
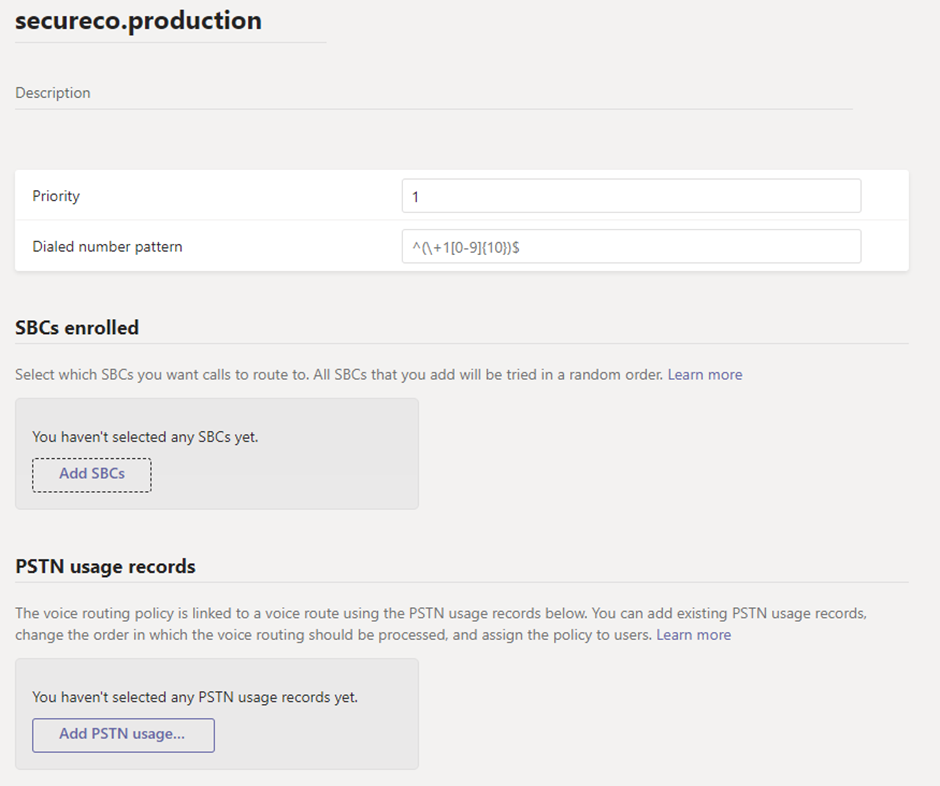
Navigate to Voice > Direct Routing and click on +Add on the Voice routes tab. Give the route a name in accordance with your naming convention, adjust the priority against other services if you have them, or leave at 1 if you don’t. Change the regex expression for your number pattern or leave at default for all numbers entered.
Click add SBCs add the SBC that was setup earlier in this guide.
Click add PSTN Usage and add the PSTN usage record setup earlier in this guide.
There are some backend Microsoft processes that are now run, but no progress is ever displayed on its status or duration remaining. In some cases, these processes can take up to 24 hours.
There are some status indicators in the Voice > Direct Routing page, showing the status of the SBCs added. No exclamation marks on the SBC name and something like the below, may show a healthy, online SBC.

Setup the Voice Routing Policy
To assign the voice route and services to a user you need to assign the user a voice routing policy.
Navigate to Voice > Voice Routing Policies
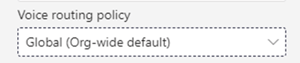
You can add a new policy if you wish, or to edit the default global policy applied to your whole organisation.
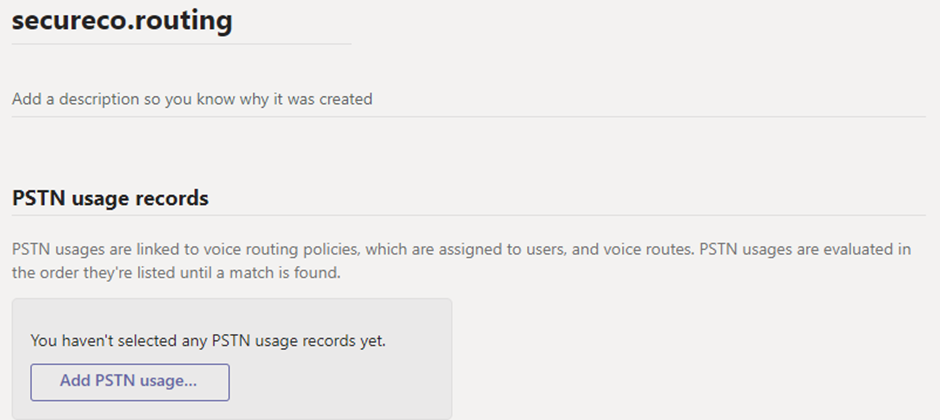
In the policy details page, add the PSTN usage record created earlier in this guide
Assigning the Voice Routing Policy
For testing this can be done in 2 ways, from the voice routing policies screen, click the assign button, in the search bar search for your user, click add and then apply.
You can also assign policies to resource groups in the same way, but grouping is not covered in this guide.
Or you can navigate to Users > Manage Users and select the user. Under the policies tab, click edit and then assign the policy you edited/created above.
To make bulk assignment you can select the tick in the tick column and select all relevant users, then click edit settings and then assign the policy you edited/created above.
Assign Phone Numbers to users
This can be done in a number of ways, via Powershell commands and via the teams portal.
For your test user, the portal via user settings is easiest, for bulk changes we suggest powershell.
User Settings
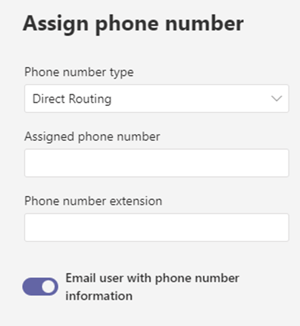
Navigate to Teams > Manage users and select the user you wish to assign the number to. When the correct license has been applied you will see under Account > General information a section for assigned phone number. If you do not, ensure the user has the correct license, see above for minimum requirements.
Click on edit and then select Direct routing and add a number in the range that SecureCo has provisioned
Powershell
Ensure you have the required module installed. Open powershell and run
Install-Module MicrosoftTeams
Then run
Connect-MicrosoftTeams
to logon to your admin account for teams
To add numbers to a single user run
Set-CsUser -Identity <UPN> -OnPremLineURI tel:+<PhoneNumber> -EnterpriseVoiceEnabled $true -HostedVoiceMail $true
To add numbers to a large number of users via csv file
Create a csv file called bulkusers.csv with the following
identity,lineuri
first.last@domain.com,+6188888888
Where identity is the User Prinicple Name and lineuri is the number you wish to assign them
Create a new ps1 file with the following code, name it bulkadd.ps1
$UserList = Import-Csv bulkusers.csv

ForEach ($item in $UserList){

$Identity = $($item.identity)

$LineURI = $($item.lineuri)

Set-CsUser -Identity $identity -EnterpriseVoiceEnabled $true -HostedVoiceMail $true -OnPremLineURI $lineuri}
Run the following Powershell command
.\bulkadd.ps1